
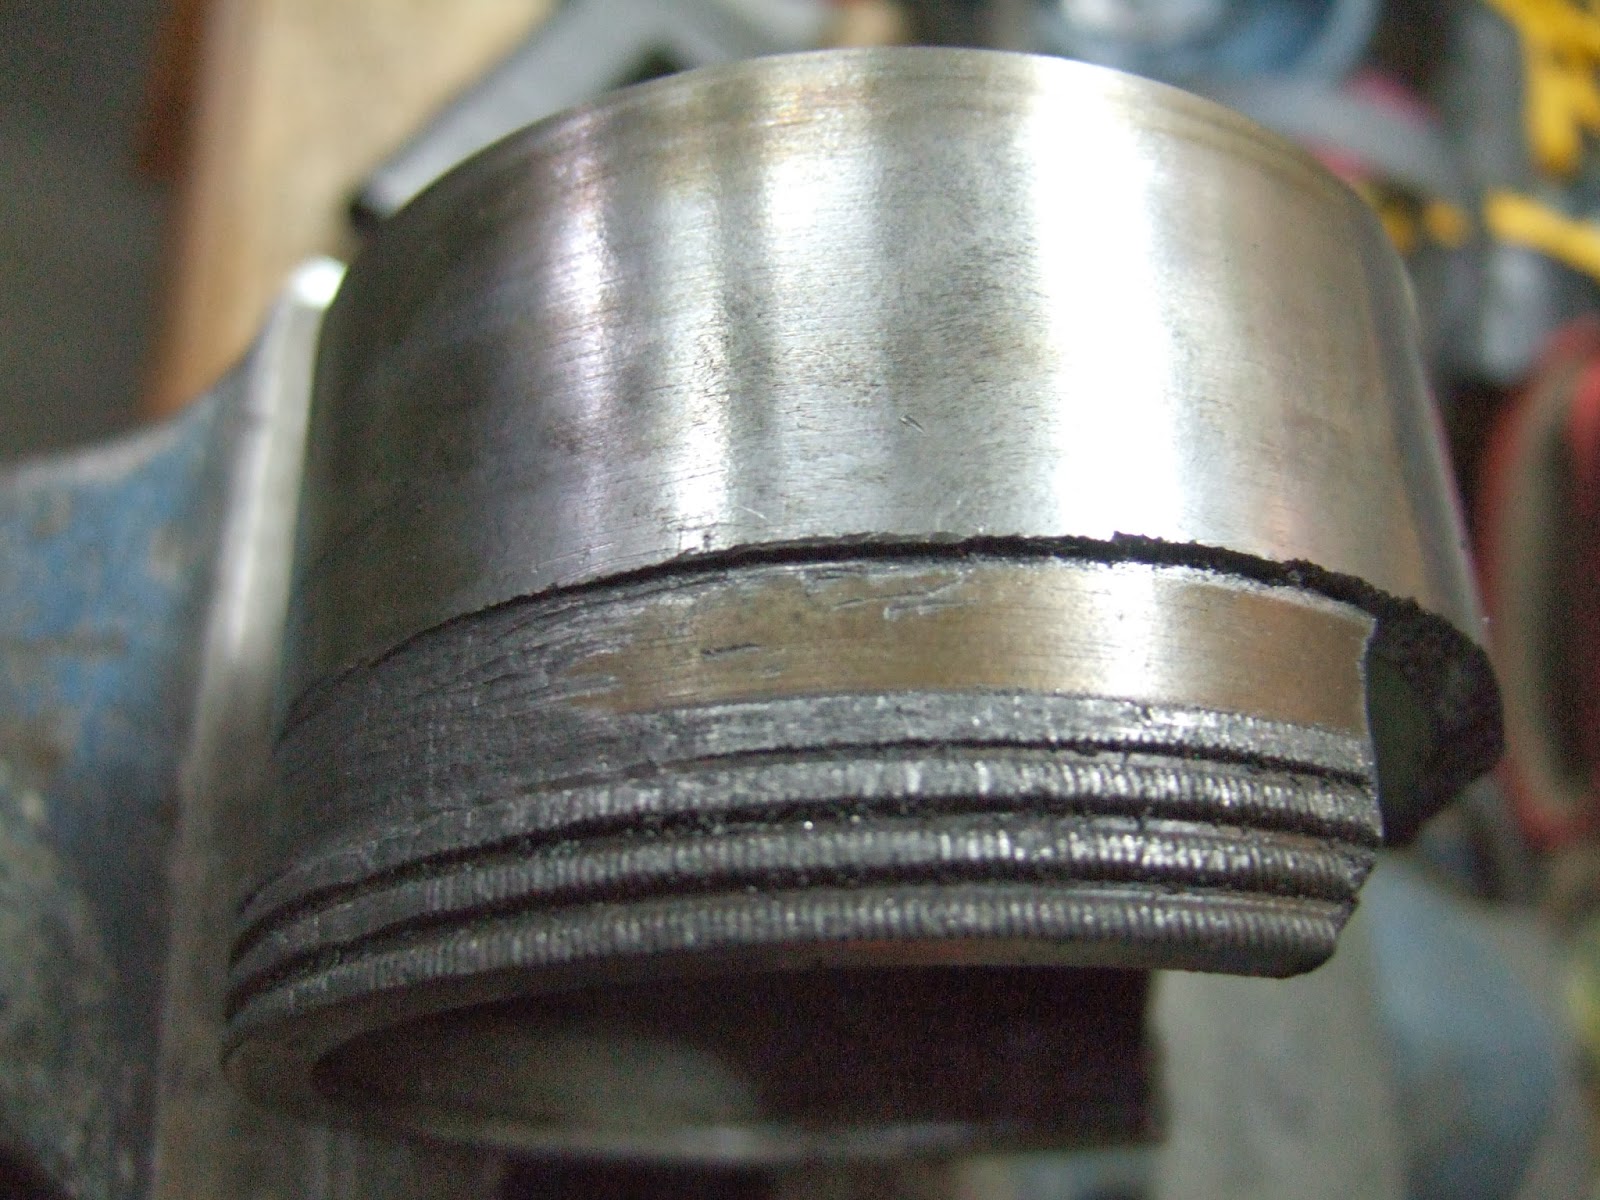
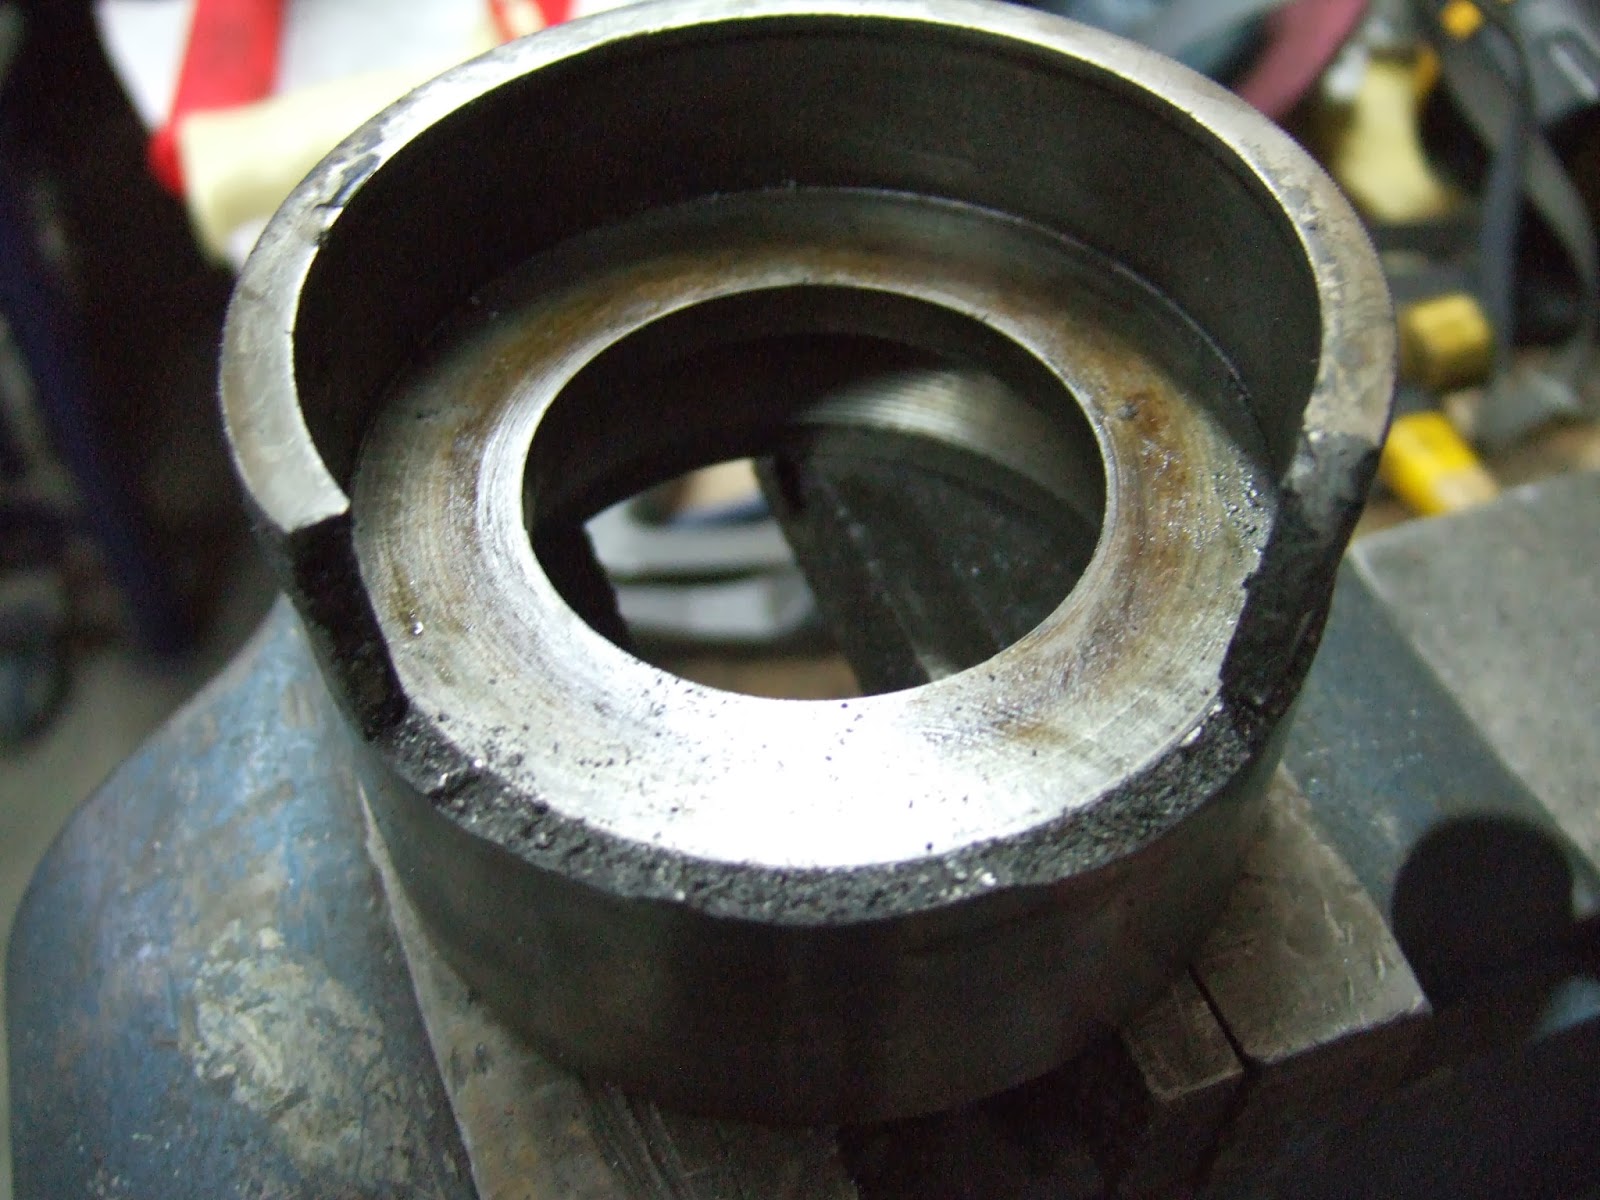
In the first picture you can see the galling line halfway up the side of the nut. The nut is threaded on the inner portion. You can also see the damage I created with a special wrench to try and remove the nut. I bought a very large Channel lock plier used on 3-4"Pvc pipe. It has three gripping areas. In the second picture you can see the fracture line where more of the nut flange is waiting to break off. In the third picture you see the pocket where the thrust washer sits. You can also see some of the threading if you look through the shaft hole to the back of the nut. I have decided that I will buy some new material and make a new "shake adjusting nut" If this works well, I will also make a new one eventually for the #39 lathe as that one is damaged as well. All I need to do is decide what material to make if from. The original was Cast Iron however I'll probably use some 12L14 steel instead to make the new nut. Now that it is all apart I can look at putting this all back together. However this will have to wait until I make the new nut and get back from some vacation.
Since all I did with the headstock was spend a few seconds a day rotating it and spraying it with Liquid Wrench I decided to do some more work on the overhead drive. It took a little tinkering but I managed to get the transmission assembly out of the casting. This was facilitated by removing the end caps and then carefully removing the plain bearings from each end. The shaft was then loose enough to slide side to side to allow the removal of two brackets which were used to hold the three step pulley in the proper location. Here is a picture of the assembly.
You can see the two brackets one is still on the left side and the other is laying on the bench by the larger drive sprocket. You can also just see the flat bearings on the shaft at either end. The assembly between the two sprockets is the actual transmission area. A "u" shaft rides loosely in the groove in the centre and moves the larger tube either left or right for low or high speed. I'll attach a few pictures and then talk about the parts that are in this assembly.


The first picture shows the sliding mechanism. in the second picture is a inner piece that is secured to the shaft by a set screw. In the second picture you can see a small screw and plate that was removed to allow the tube to slide off. When this is secured on the inner piece with the tube in place the tube can only move left or right a fixed amount, about 1 inch. On either end of this assembly is another assembly that slides on, this is in picture three above. The item in picture 4 is the inner part of this assembly. When the tube in picture 2 slides left of right there is a small stub piece of metal inside the tube that slides the 2 arms from picture 4 apart. Because of the cam effect of the two small blocks at the bottom of the arms it spreads the collar apart and locks it inside the outer assembly you see in picture three. This would then drive that sprocket. When the tube moves the other direction these two arms would come back together releasing its collar and the two arms in the same assembly on the other side of the shaft would seperate to do the same work and therefor grip its assembly and drive the gear on that side of the assembly. Because of the two different sized sprockets we have two different speeds. Hopefully when I get it all back together it works as advertised. My only concern is if the small collars that spread out get too worn then they will not lock with the outer assembly. If this happens then the drive assembly will not work as advertised. I will not know this until we are all done rebuilding the overhead drive assembly, so wish me luck with this. Just to give you a sense of all the parts in this entire assembly here is a picture of all the individual parts of this transmission shaft assembly.

Once this was all taken apart I made up a quick little tool to help in removing the threaded spacers that were located in the bottom end of the casting where it bolts onto the lathe body. These spacers can be threaded in and out to compensate for the roughness of the lathe body casting as well as to properly locate the overhead drive right above the headstock. Here is a picture of the spacers before removal.

Once these were removed I put the dust mask and my face shield on and took two days to clean all the old paint off the casting. Once it was all cleaned and wire brushed to remove any surface rust we gave it a spray with a rust inhibiting primer. Here you can see a picture of the casting covered in primer.

There are three people that own these lathes that also have the same overhead drive assembly. I've asked them to send me pictures of how it is mounted as well as measurements for where the holes are in the lathe body. I need these as my lathe never had this overhead drive mounted and there were no factory holes for this assembly. My hope is that these people send me measurements that match each other so that I can use those same measurements to install mine. If not then I will wait until the headstock is mounted and carefully calculate where it needs to be mounted to ensure its smooth operation.
I will be taking a break from the project as I will be heading home to visit Mom for the next two weekends. So the next time that I'll write in the blog will be 15 December.
For all you Americans out there have a happy Thanksgiving and a safe shopping day on Black Friday.
All the best
Harold
No comments:
Post a Comment