Saturday 27 July 2013

Hello again
Really quiet week this time. Spent a few days doing overtime at work and leaving late. Then with the obligatory stop at the Officers Mess for an after work drink with a few cronies left little time to do much work this week.
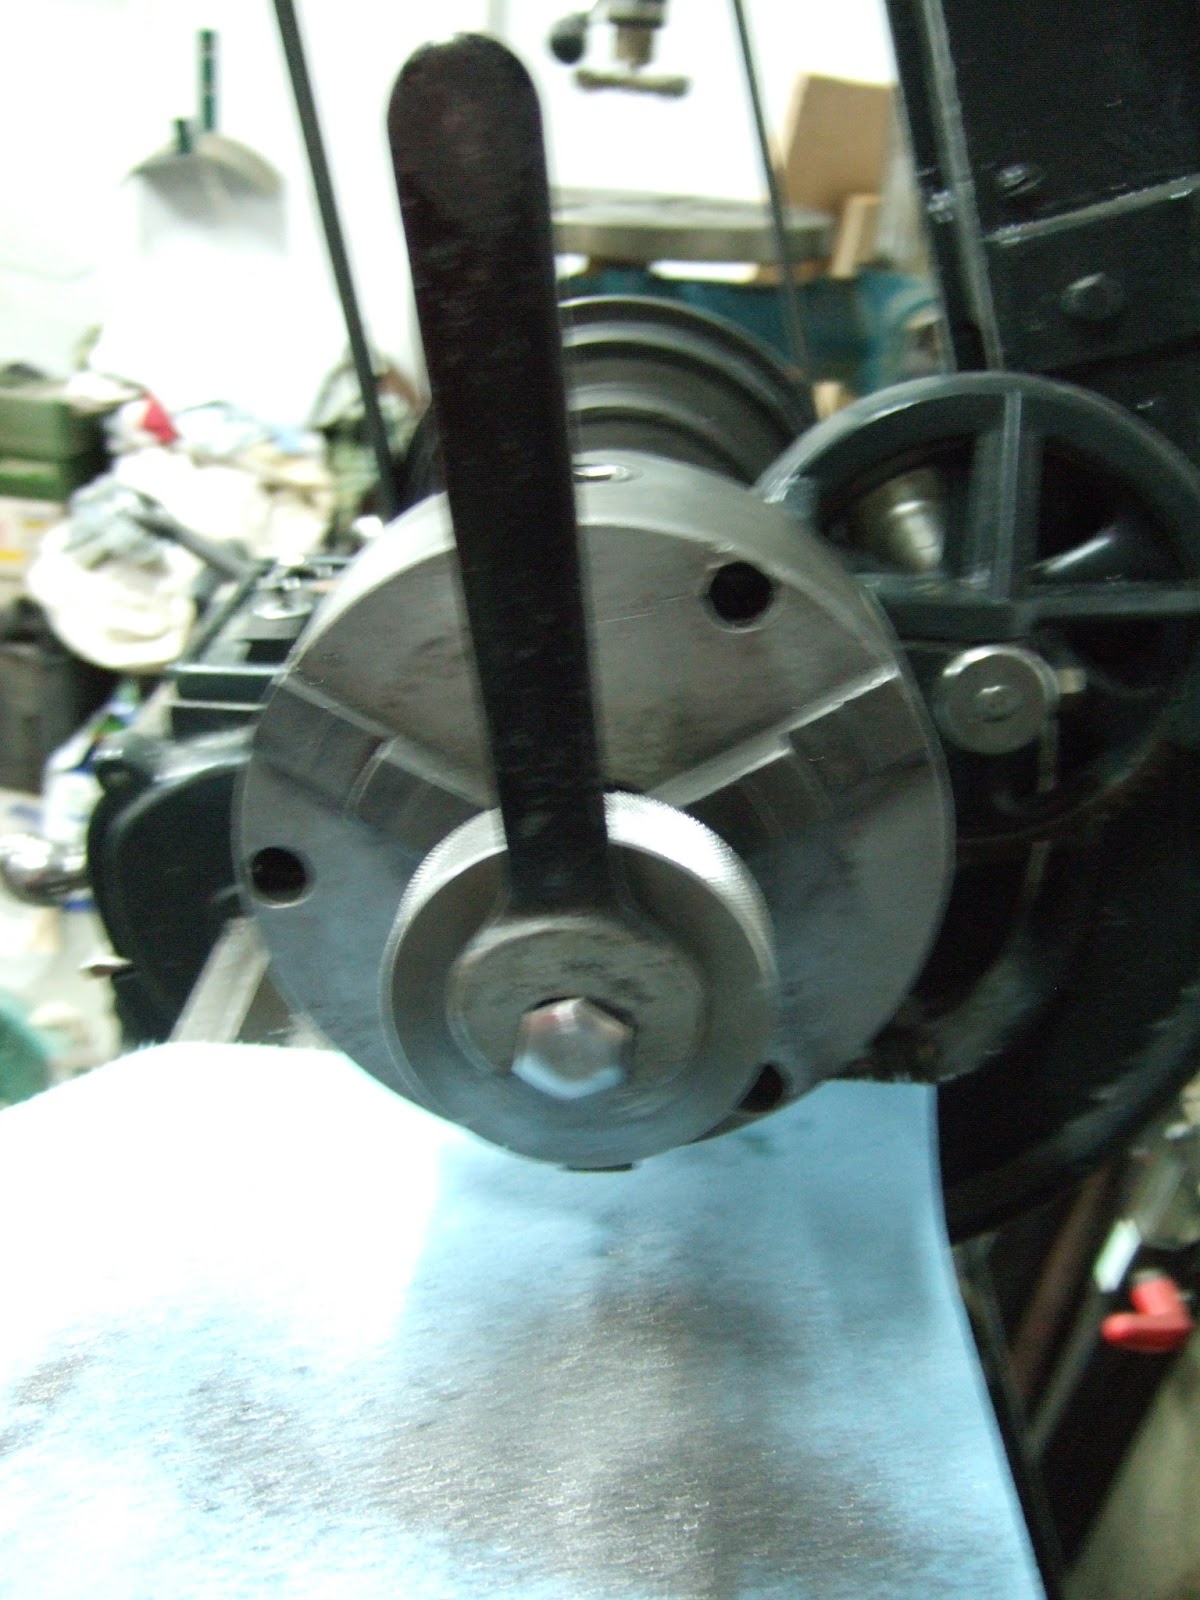
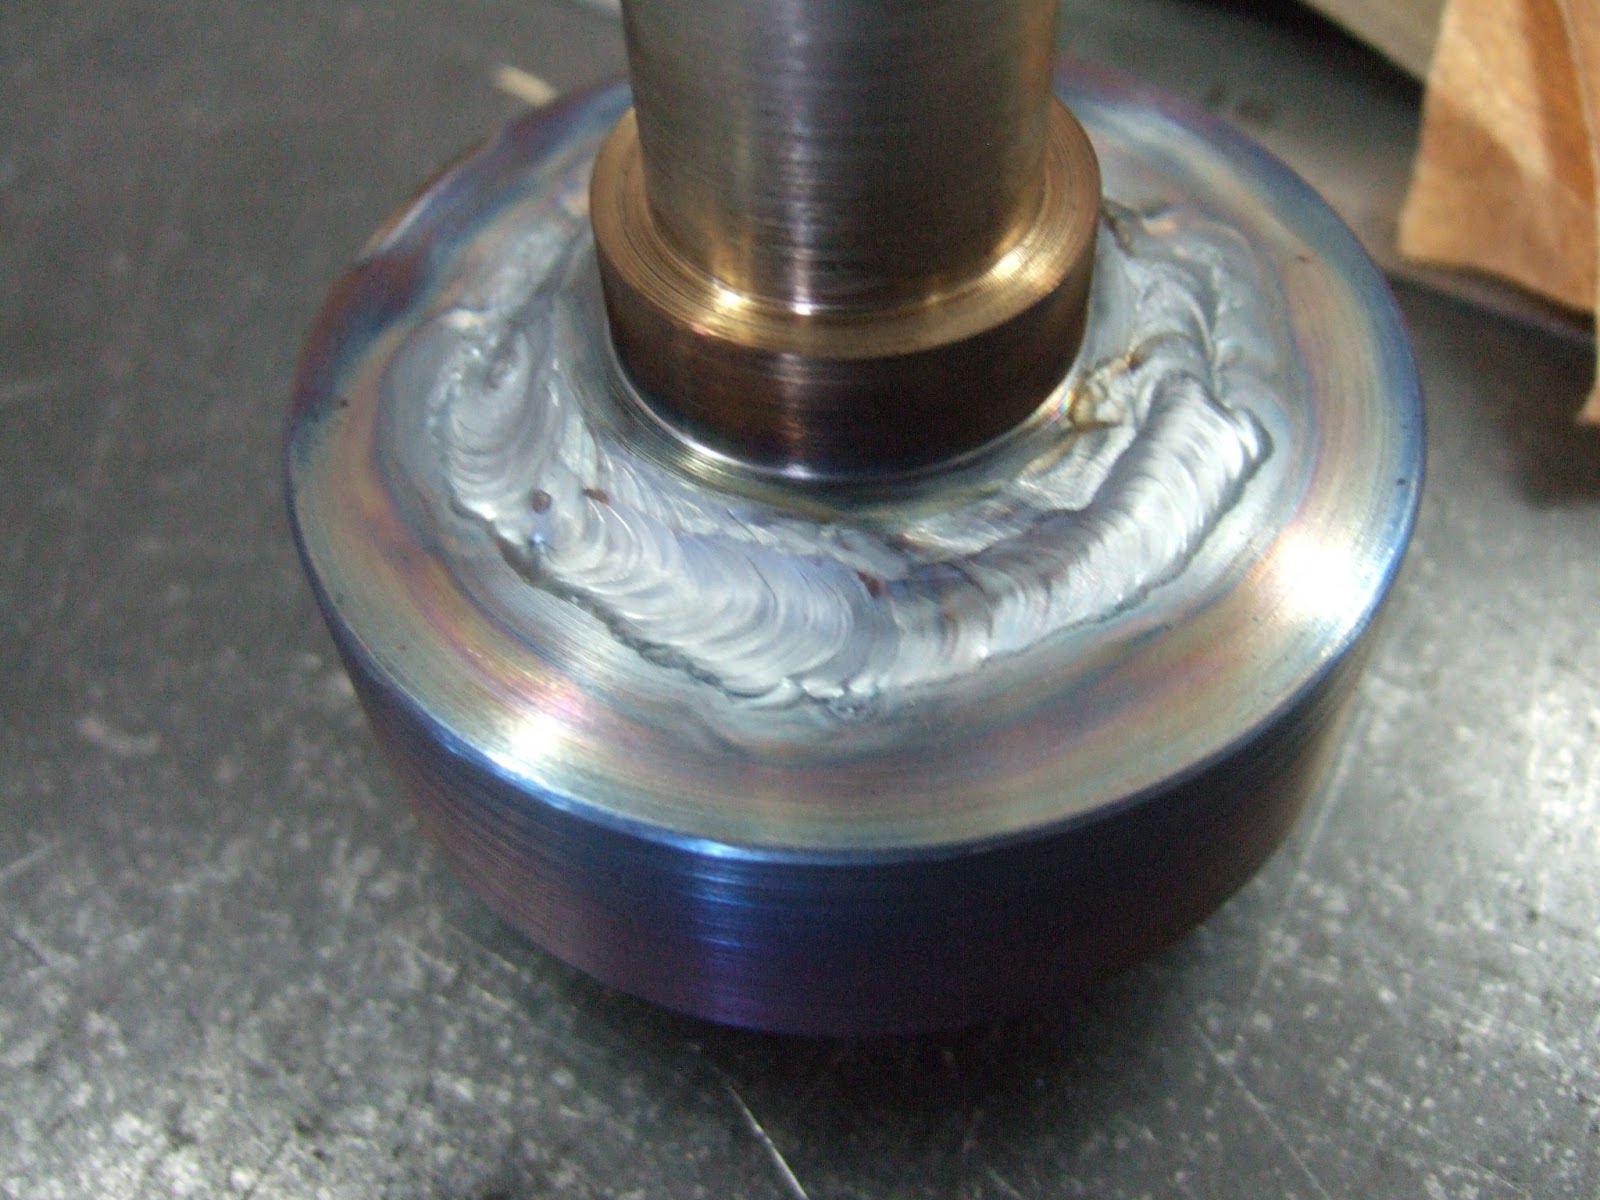
Last week Saturday after picking up the nephew from camp went to Perth Ontario to go to Cardon's tools just east of Perth on Hwy#7. Picked up some involute cutters to make the change gears for the lathe and picked up a few more other sundries. One was a piece of brass sized so that I could make the brass washer that was still required on the Collet draw bar for the VN#10 Mill. Machined that up on Sunday afternoon once the nephew was safely on the train back to his parents. Here's a picture showing the collet draw bar in place with the brass washer. The draw bar works like a charm. Unfortunately the cutters I bought are 3/8" and 1/2" dia and those are two of the 4 collets from the set I do not have. I hope within a week or two to do trade with another VN owner to flesh out my set. Here's a picture of the draw bar with the brass washer. Oh by the way I lost out on an auction on EBay for a Van Norman vice for my machine. If anybody reading this blog knows of a Van Norman vice applicable in size for my #10 please contact me. Thanks

I then proceeded to clean up the area so that I could pull out the lathe body for the #86 and get back to work on this. I spent some time scraping the ways with a razor blade and then sprayed it with WD40 and used a 1000 grit sandpaper to do a little more cleaning up. I also carefully knocked down any little bumps on the edges with a jewelers file. Although not perfect the ways look in very good shape for a mill this old. After this was done I carefully cleaned and polished the end cap where the serial number and the date stamp is located. I also used a dental pick to clean out the letter/number stamping. After this was done polished the end with rouge and she looks good. Lastly I scuffed up the primer coat and spray painted two thin coats of the charcoal finish paint. Here's a look at the lathe body after painting and before removing all the tape and paper that protected the unfinished areas.

Once the paint had a chance to dry, removed the tape and newspaper, then I carefully cleaned and chased the threads for the eight bolts that hold the small cabinets on. As well I looked at the original sheet spacers that went between the lathe body and the cabinet and decided these were beat up so I'd buy some new sheet stock to make some new spacers. That was the last thing I did today before heading out for supper.
Next week I'll be heading into Vermont on Tuesday to pick up a Van Norman 10" horizontal dividing head from a fellow. Then I'll probably spend another day around the area sight seeing before coming back on Thursday. Then it will be back to work on the lathe to see if we can get the lower body parts all mated back together. Before I do that will have to make the nuts, bolts and spherical washer that holds the left cabinet to the lathe. Those longer bolts with the small springs were bent so need to make some new ones and I'm missing a few of the nuts. Nice thing is we have a long weekend next week so I should have lots of time to get lots of work done. 
Until next time have a great week.

Harold
P.S. only 4 more weeks until all those ankle biters go back to school and we have some peace and quiet on the street.:-):-):-)

Friday 19 July 2013

I'm writing this a little earlier than normal since I'll be on the road tomorrow picking up the Nephew at a summer camp north of Kingston Ont and then I'll go to Perth to Cardon tools to look over their selection of new and used items. They have some gear cutters I would like as well looking for spacers for my arbors for the Milling machine. By the time we get back home will be too late to do anything and on Sunday I need to bring him  to the train station at 1300ish to take the train home to London Ontario.

Well I had big plans to get a lot done this week since I had the week off, however something always got in the way. One issue was that I had some issues with my back and therefore was not feeling the best. When you combine not feeling well with the humidity we had this week then all you want to do is stay in a nice air conditioned house and drink Iced tea. However if we don't work then nothing gets done.

First thing I started was to work on turning down the lower half of the draw bar for my Van Norman mill. A couple of other owners sent me pictures of what the original looked like and John sent a detailed drawing with all the dimensions needed. So we cut a length of bar down to rough size and then turned it down to 1.5" for the first dimension. Instead of making this all out of one piece of bar stock I broke it down into two assemblies which would then be mated together. The 1.5" dia would be the widest piece of the lower bar and would slide into the upper part. The majority of the bar is .875" dia. Once I had the first cut done I cut the bar to length and located it securely in the 4 jaw chuck and then started to drill out the other end for the threads required. Since I do not have a steady rest and the bar would not go inside the headstock shaft I had close to 8"sticking out. I felt it was better to drill then to bore. The threads are .780" by 18tpi so I determined that I would need a 23/32" drill bit to finish the hole to the size required. This is not a standard size so off to Fastenal I went on Tuesday morning and ordered one in. I had hoped to receive this on Thursday but did not get it until Friday, this morning. So nothing was done on Tuesday, Wednesday and Thursday on the collet draw bar. Once I received the drill bit this morning I bored out the hole and carefully cut the inside threads required. This worked really well and the collets thread up nicely. Then we finished turning down the rest of the shaft to the required diameters. Here are a couple of pictures. As well as a short video of turning down the shaft, here I used a carbide cutter I bought to try it out. Worked pretty good however I was probably not pushing it as much as I should have since a lot of heat went back into the shaft.

 Once I had this all done it was onto the upper part. This was almost 3" dia but only 1.5" thick. Into this piece I bored a hole to accept the lower part and turned a small extension that would eventually become a 3/4" nut. Once the machining was done fitted the two parts together and then tigged them up so they'll never come apart. Then we put the draw bar back in the lathe cleaned up the welded joint, knurled the large diameter part and then carefully hand filed a 3/4" nut onto the top. After this was done removed the draw bar moved to the vice and drilled in 4 holes at 90degrees apart in the knurled section for a pin wrench. This draw bar can be tightened by a 3/4" wrench or a pin wrench. Here are some pictures showing the upper part, the welding, the filing, the wrench on the nut, the finished nut and then sitting in the mill. For me that was the better part of a day's work.


One other thing I did this week while waiting for the drill bit was to make the little locking tab that fits in the collets in the quill. Last week while at the parents I bought a 3/16" woodruff key at the same location I bought the small screws for the Sellers plaque, Kala's Hardware in St Catharines. I then carefully cut the most away and started to file it down to size. Once I had the basic shape worked out I then drilled a hole to accept a #6 brass screw that would hold it in location. Here we had some fun. The hole in the quill shaft is at a 15degree angle. So I carefully made sure that I drilled the hole in the key in 15degree angle. I forgot that the key already sits in the slot at a 15 degree angle so I should have drilled the hole at 90 degrees to the base of the key. Oh well redrilled and retapped the hole and it still works. Then placed the key in the slot screwed it in and then gave it some finish filing to ensure the collets fit smoothly. Everything ended up working great. Here are a couple of pictures showing the key in the slot and on the table before installing it. The screw beside the key is the #6 brass screw used to secure it in place.


Well that's all for this week. I'll see you next week again. Not sure what we'll do. I'm tempted to run the mill to see how it works by finishing off the casting for the tray tables for the #39 Lathe. Decisions, decisions.

Harold


Saturday 13 July 2013

Well as mentioned last week I did not expect to get to much done this week due to work and weather. Don't feel like doing much after you work all day in a mediocre air conditioned office and the humidity is such that you can wash your dishes with the water you wring out of your shirt.
However even with all that I did manage to get  a few things done. You have to remember this is not a race and there is no prize for the first one done. So over the week and mostly on Saturday I got the following items finished. One I painted the trays for the #39 lathe Forest green just like the rest of the lathe. Then I finished attaching the sellers logo to the #86 lathe with small brass screws. Initially I tried to find brass rivets for this however finding such an item where I live is nigh to impossible. I managed to find some nice brass screws for the threading plate locally however could not find small screws for the dealers plate. While I was home this weekend went out to Kala's Hardware on the west side of St Catharines. This Hardware store has always been known as the place to go if you can't find what your're looking for elsewhere. They always seem to have some of the out of the way or oddball sized items. Sure enough found some small brass screws to secure the dealers logo back to the machine. As well I also finished the dollies that will be used to move the lathe around once the legs and body are mated back together. Here are a couple of pictures of the dollies and the gear cover with the dealers logo.

After this work was done decided to finish machining the bolt required for the collet tray. A couple of weeks ago I thought I had made this bolt but then realized I had made it from 5/8" hex rod when it was supposed to be made from 3/4" hex rod. So bought some 3/4" hex rod and this weekend made the bolt on the #39 lathe. Now I am not a professional  machinist so here's the blow by blow on how this went. First cut the bar down to usable size to make the bolt. Turned down the hex bar to .487 which was the finished dimension of the original bolt in the #39 lathe. Used the auto feed on the old lathe and it worked very well. Here's a picture of the part as it is being turned down to the required dimension. As you can see I am using a tangential bit which at this time I find very easy to use.
Once that was done needed to setup the threading apparatus to turn a 12 TPI thread. First some head scratching. I thought I had the lathe all setup to work on this however the feed and lead screws were not turning. Spent 5 minutes trying to figure this out when I finally realized I had the QC in bypass mode not in 12 TPI mode. Once that was sorted out I did a dry run with the threading bar I have from Arthur Warner company. Again thought I had it all setup unfortunately the bit was loose in the mount and crashed on the first run. Crashed badly that it broke the small screw that holds the bit in place. Luckily enough I had bought a threading adaptor for the Aloris toolpost so installed that instead. This is normally used for coarser threads looking at the size however 12 TPI is definitely coarse enough for this bit. Here's were a little planning should have come into play. I should have left the centre post loose from the collet tray so that I could have used this to check the threads when I was almost finished. As such I now had to carefully remove the bolt try it in the centre post and then carefully reinstall in the lathe and line up the threads so that I could remove the last little bit. As it was I needed to remove another 5thous to get it to fit properly.  Once it was all done I rounded the head like all the other bolts and then polished the head. Here are  a few pictures of the finished bolt and when the thread was completed. Good thing nobody pays me to do this as I estimate it took me close to 2hours just to do this one bolt with all the issues I had. Oh well I can only get better.

Well I'm finished work for this week on Monday and then I have 4 days to work in the shop on various items. I hope to make and finish the draw bar for the Van Norman Mill and I hope to also get some more work done on the lathe bed of the #86. I plan to carefully go over the top bedways and see about working on cleaning them up. If we're real lucky we might have the bed, cabinets, legs and tray all mated together by next time I write in the blog. Well all the best and enjoy the summer. Remember be careful out there in relation to sunburns.

Harold


Monday 8 July 2013

Well I hope that everybody had a safe and happy weekend. We've just been through 2 long weekends one north and one south of the border. No I don't mean the Mason Dixon Line and no, not the Rio Grande either:-):-) Fairly quiet week again as I decided to go visit the parents on the weekend. By doing this I fulfilled familial needs as well I could drop of the tray pattern at Lake Foundry in Grimsby Ontario to have 5 more tray brackets cast for the lathes. Unfortunately they will be on leave end of July beginning of August so will not be able to pick them up until Mid August. Oh well we've waited this long a few more weeks won't hurt us. As well I picked up the horizontal arbors from the Brother in law. Here is a picture of the three arbors I got. As well here is a picture of the collets I received earlier in the week.
In the workshop I cut and welded and painted the steel that I will use for my two dollies to move the lathe around. I essentially just duplicated the ones I built earlier. maybe a little different just to fit the size of the wheels on the castors. As well I painted up both tray sets for the #39 and the #86 Lathe. I'll include a few pictures of these items as well.
I'm in the process of trying to sell some woodworking tools to make space for the metal working tools. Only have so much space in a two car garage. I sold the Jointer already and have now listed the table saw and the thickness planer. Before these two items disappear I thought it would be prudent to mill and glue up three boards to form a shelf that will straddle the two lathe legs just like I did for the #39. So here's a picture of the white oak boards glued up in the clamps. 

 This board is now planned down to final thickness and the accompanying pieces are planned as well. They'll sit around until the lathe is on her own two feet. Well back to work tomorrow until Monday at Noon. We'll see how much I can do this week. My gut feel is very little and then next week while I'm on break I can get to machining up the Collet draw bar for the Van Norman #10 and also machine up the bolt I still need for the collet tray. After those two items are done we'll get back to work on the lathe body for the #86.

Till next time
Harold