Well I had big plans to get a lot done this week since I had the week off, however something always got in the way. One issue was that I had some issues with my back and therefore was not feeling the best. When you combine not feeling well with the humidity we had this week then all you want to do is stay in a nice air conditioned house and drink Iced tea. However if we don't work then nothing gets done.
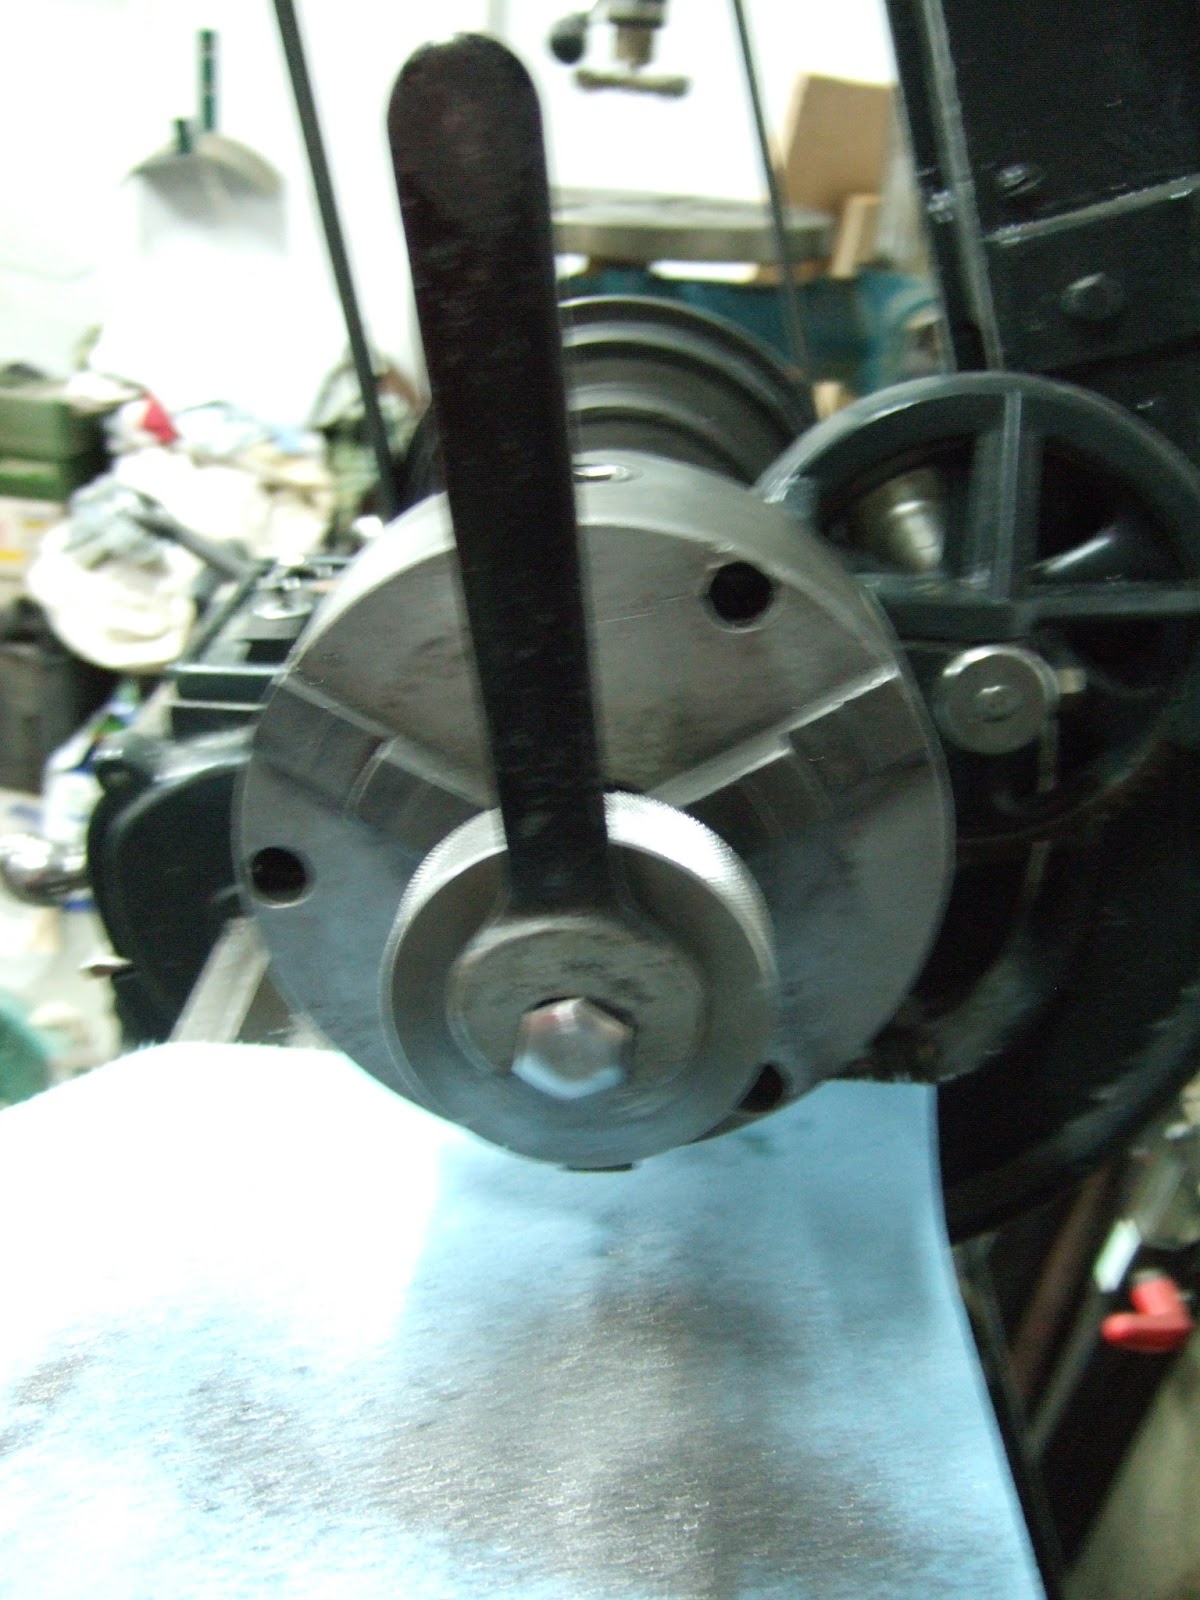
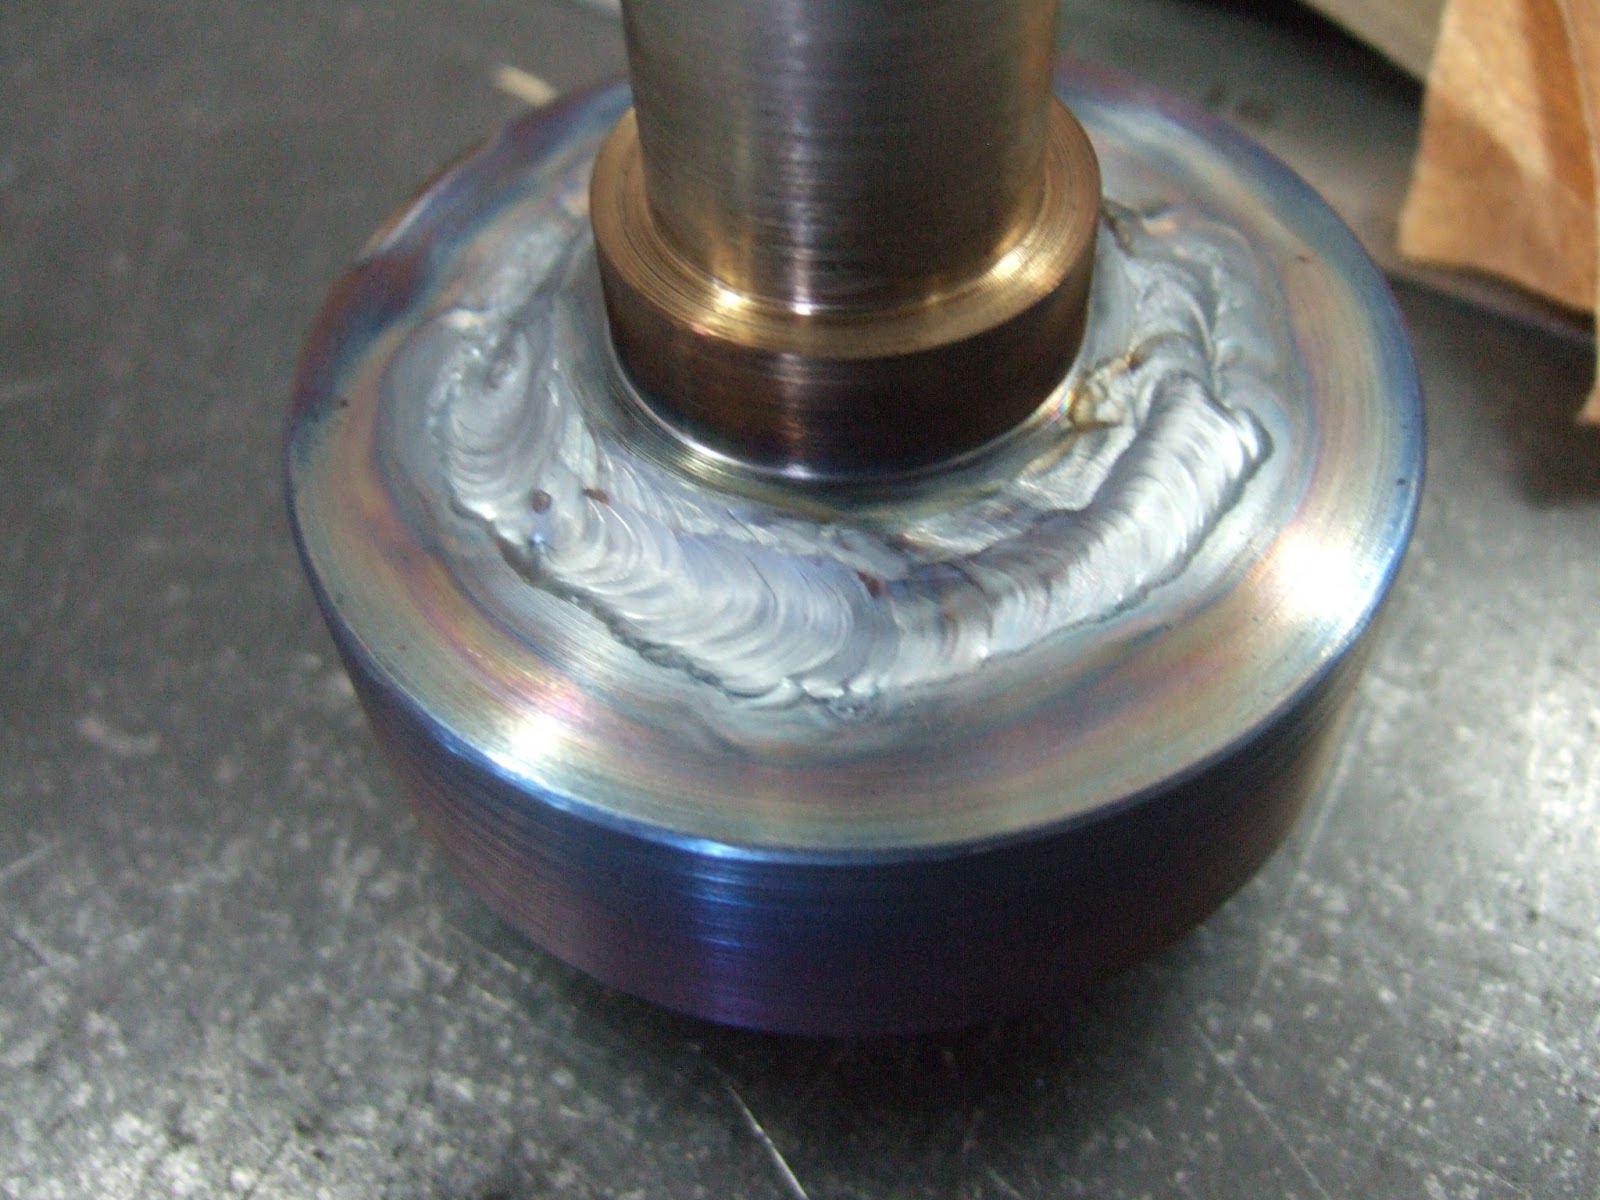
First thing I started was to work on turning down the lower half of the draw bar for my Van Norman mill. A couple of other owners sent me pictures of what the original looked like and John sent a detailed drawing with all the dimensions needed. So we cut a length of bar down to rough size and then turned it down to 1.5" for the first dimension. Instead of making this all out of one piece of bar stock I broke it down into two assemblies which would then be mated together. The 1.5" dia would be the widest piece of the lower bar and would slide into the upper part. The majority of the bar is .875" dia. Once I had the first cut done I cut the bar to length and located it securely in the 4 jaw chuck and then started to drill out the other end for the threads required. Since I do not have a steady rest and the bar would not go inside the headstock shaft I had close to 8"sticking out. I felt it was better to drill then to bore. The threads are .780" by 18tpi so I determined that I would need a 23/32" drill bit to finish the hole to the size required. This is not a standard size so off to Fastenal I went on Tuesday morning and ordered one in. I had hoped to receive this on Thursday but did not get it until Friday, this morning. So nothing was done on Tuesday, Wednesday and Thursday on the collet draw bar. Once I received the drill bit this morning I bored out the hole and carefully cut the inside threads required. This worked really well and the collets thread up nicely. Then we finished turning down the rest of the shaft to the required diameters. Here are a couple of pictures. As well as a short video of turning down the shaft, here I used a carbide cutter I bought to try it out. Worked pretty good however I was probably not pushing it as much as I should have since a lot of heat went back into the shaft.


One other thing I did this week while waiting for the drill bit was to make the little locking tab that fits in the collets in the quill. Last week while at the parents I bought a 3/16" woodruff key at the same location I bought the small screws for the Sellers plaque, Kala's Hardware in St Catharines. I then carefully cut the most away and started to file it down to size. Once I had the basic shape worked out I then drilled a hole to accept a #6 brass screw that would hold it in location. Here we had some fun. The hole in the quill shaft is at a 15degree angle. So I carefully made sure that I drilled the hole in the key in 15degree angle. I forgot that the key already sits in the slot at a 15 degree angle so I should have drilled the hole at 90 degrees to the base of the key. Oh well redrilled and retapped the hole and it still works. Then placed the key in the slot screwed it in and then gave it some finish filing to ensure the collets fit smoothly. Everything ended up working great. Here are a couple of pictures showing the key in the slot and on the table before installing it. The screw beside the key is the #6 brass screw used to secure it in place.


Well that's all for this week. I'll see you next week again. Not sure what we'll do. I'm tempted to run the mill to see how it works by finishing off the casting for the tray tables for the #39 Lathe. Decisions, decisions.
Harold
No comments:
Post a Comment