
The following day I did a little clean up the welding table and brought out the gearing section and started to strip it down to component parts. I'll attach a picture of the entire unit and then all the pieces laid out awaiting work. The first piece that will be worked on will be the Quick Change gearbox housing that will be stripped, cleaned and painted. Here are pictures of these items


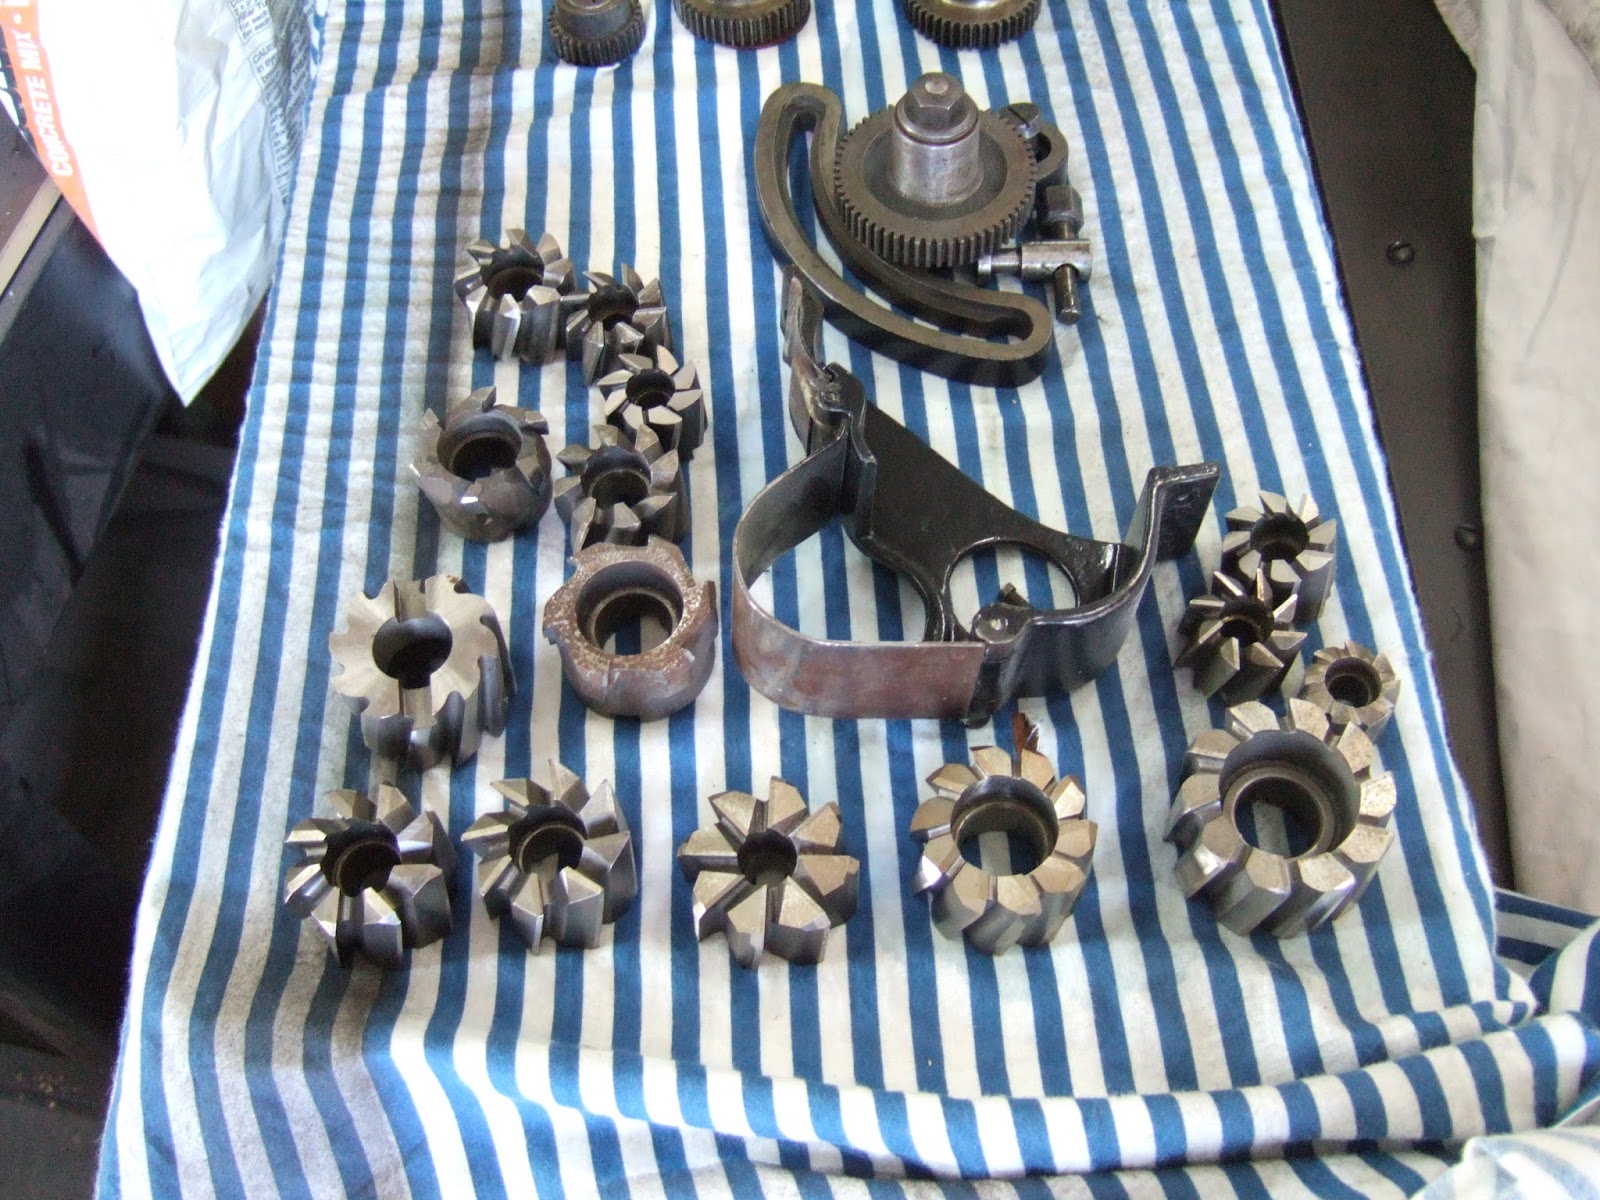
Then on Wednesday the cutters arrived so I could finish milling the shelf bracket for the #39 lathe. One of the cutters had just the right radius on the cutter head to give me a nice finish and curve on the upper rear support arm. Here is a picture of the cutters received and the tray bracket after the top arms are milled.

Once the upper arms were milled and the lower forward arm was milled that left me the rear lower arm to smooth up. I do not have the milling machine or cutting heads to be able to do that so I had to do it the old fashioned way. I had to do it by hand with large files. Here is a link to a quick You tube video showing me filing the part. When that was done I used various size sanding wheels in the Drill press and on a dremel tool to smooth the rough casting down a considerable amount. At one time I thought about using Bondo to get it real smooth however after priming it I think it is good enough. Here is a picture of the item once all the milling was done.

With the milling and sanding done it was time to drill the holes to mount it to the lathe. I cut out a piece of bristol board and taped it to the lathe and used a ball peen hammer to find the 4 holes and carefully make impressions in the paper. Once that was done I used punches to punch out the spot where the holes would be. After a quick check to make sure the holes lined up I laid out the template on the bracket and drilled one hole. I then placed the template back on the lathe bolted the bracket on with one bolt and then leveled it up to the lathe and taped the template to the bracket so that I could transfer the remaining three holes. Here are two pictures showing this.

After the four holes were drilled we again mounted it on the lathe just to check it out. Earlier I suspected an issue and now it was confirmed. When the lathe was poured in the foundry the casting had a slight roundness at the end where the tray bracket mounts. This was most likely caused by the "draft" required in the mould when they poured the cast iron. The original bracket I have has no cut out or bend to fit this roundness. Since I did not want to put a thick shim behind the bracket I elected to take another cut on the mill and remove the centre section of the two bumpouts where the bolt holes are located. Once that was done I remounted it to check the fit. This time it fit much better and I will probably only need thin shims to ensure 100% contact. I even threw the trays on to see how it looked. Here's a couple of photo's showing the extra cut out and the temporary mounting with the shelves.


As you can see the countersunk portion was a little thick and when I placed them in the tray even with a countersunk hole they stood up. So I went to plan B. I placed a rivet in each hole on the tray and placed the tail of the rivet in the forming block a couple of hits with a heavy hammer and the rivet top dimpled the tray metal such that the rivet was pretty close to even with the tray top. Once the rivets are locked in place I will sand the rivet head down a little such that it is relatively smooth to the tray top. Once the trays were dimpled I sprayed the tray support casting with primer and called it a day. Tonight I'll pick up another bottle of Oxygen and tomorrow we'll finish the rivets and most likely rivet the trays to the bracket. Once that's done I'll spray the colour coat on the complete assembly twice and once dry we'll mount it to the lathe. However that will only be done once I make the 4 bolts required. That will get done next week. Here are a couple of pictures showing the rivets tops after they dimpled the tray and the bracket hanging to dry once sprayed.


Since I have the coming week off work I hope to have a fair amount of work done by the next time I talk to you. Until then have a great week enjoy the long weekend coming up and remember stay safe out there.
Harold
No comments:
Post a Comment